 |
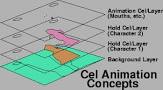
| Cel Animation Concepts Discussed in Class |
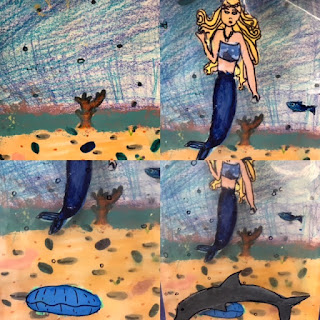
I first planned a project with plastic sheets when I wanted to build a project around the work of Carol Cohen. She had an amazing piece of art at the MFA in Boston that was made of plexiglass layers. Each layer had small images painted on it, and the layers stacked up to build a 3-D image. The 3-D effect is something that the kids love, and it is fun to replicate using plastic sheets.
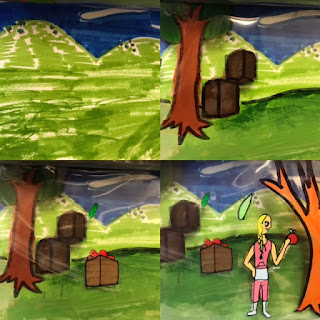
This project was one that I planned for 4th grade. They learned about perspective and about proportions of the human body earlier in the year. I wanted to challenge them to apply their knowledge of both concepts in a new project. We had done a lot of drawing, so this gave them a chance to paint.
 |
| My sample: I drew myself at the dog park with Belle:) |
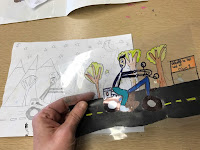
They drew a scene showing perspective and a character showing proportions. I then asked them to break the scene up by tracing different parts of the scene onto layers of plastic. I bought sheet protectors from the office supply store for the plastic. They used sharpies to trace, and they painted with craft paint. Most of the time, the paint required 2 coats because of the slick surface, but otherwise it worked well. We also learned that you can "erase" the sharpie with hand sanitizer on a cotton swab:) This was a relief to a few nervous students.
 |
| Yoli's Work |
 |
| Nate's Work |
We watched some Youtube videos about classic cel animation techniques, and we compared our work to the work of scenery and character artists who created movies like Disney's Snow White. It was a very busy studio environment, but they worked well and the products were fun to see. We played around with my Boomerang app to see some of the characters in motion. They used strips of cardboard and duct tape to layer and display the sheets of plastic with a little space between them. Here are some fun photos of their work and the process:
 |
| Display of Finished Work |
 |
| Martha Experimenting |
 |
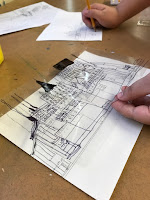
| Ruby Painting a Cel |
 |
| Helping Each Other Build Scenes |
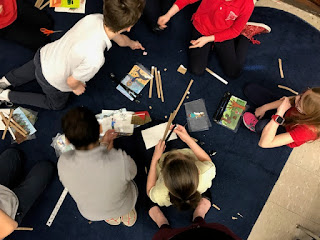 |
| I just let them take over the rug area. It was a mess, but they could work together as they finished painting. |
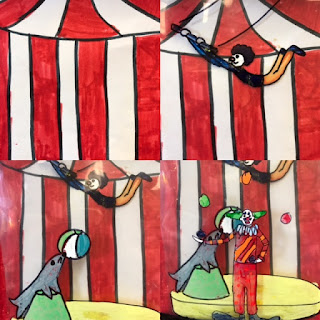 |
| Felipe's Layers |
 |
| Stella's Layers |
 |
| Monty's Layers |
 |
| Amari's Layers |